WineTasteGuide Documentation
Complete guide to using WineTasteGuide for your wine tasting journey
Table of Contents
1. Getting Started
Registration
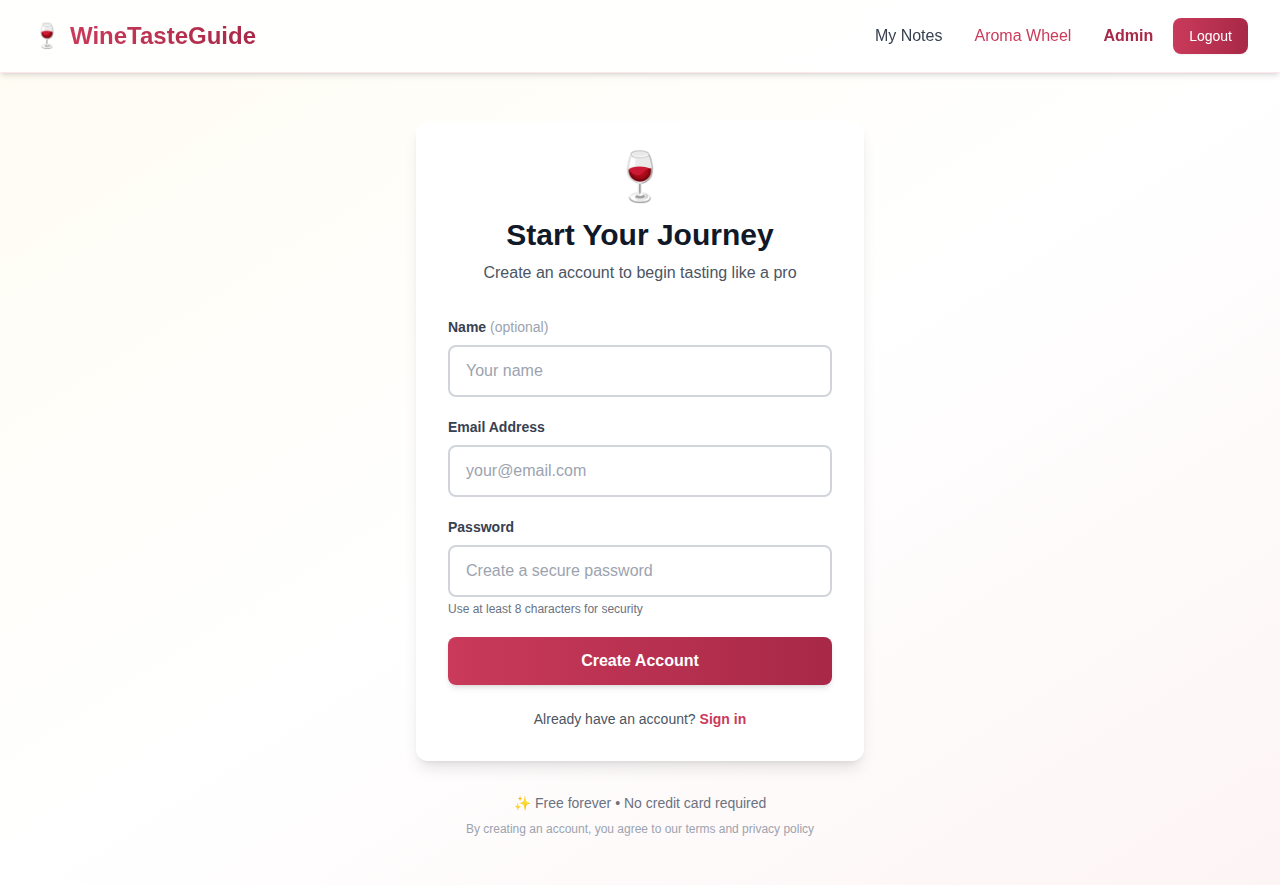
To start using WineTasteGuide, you'll need to create an account. Registration is completely free and requires no credit card.

Steps to Register:
- Click "Sign Up" in the navigation bar or on the homepage
- Enter your name (optional), email address, and password
- Click "Create Account"
- You'll be automatically logged in and redirected to your notes page
Logging In
Once you have an account, you can log in from any device using your email and password.

Steps to Login:
- Click "Login" in the navigation bar
- Enter your email address and password
- Click "Sign In"
Homepage Overview
The homepage provides an overview of WineTasteGuide's features and displays a selection of public tasting notes from the community.
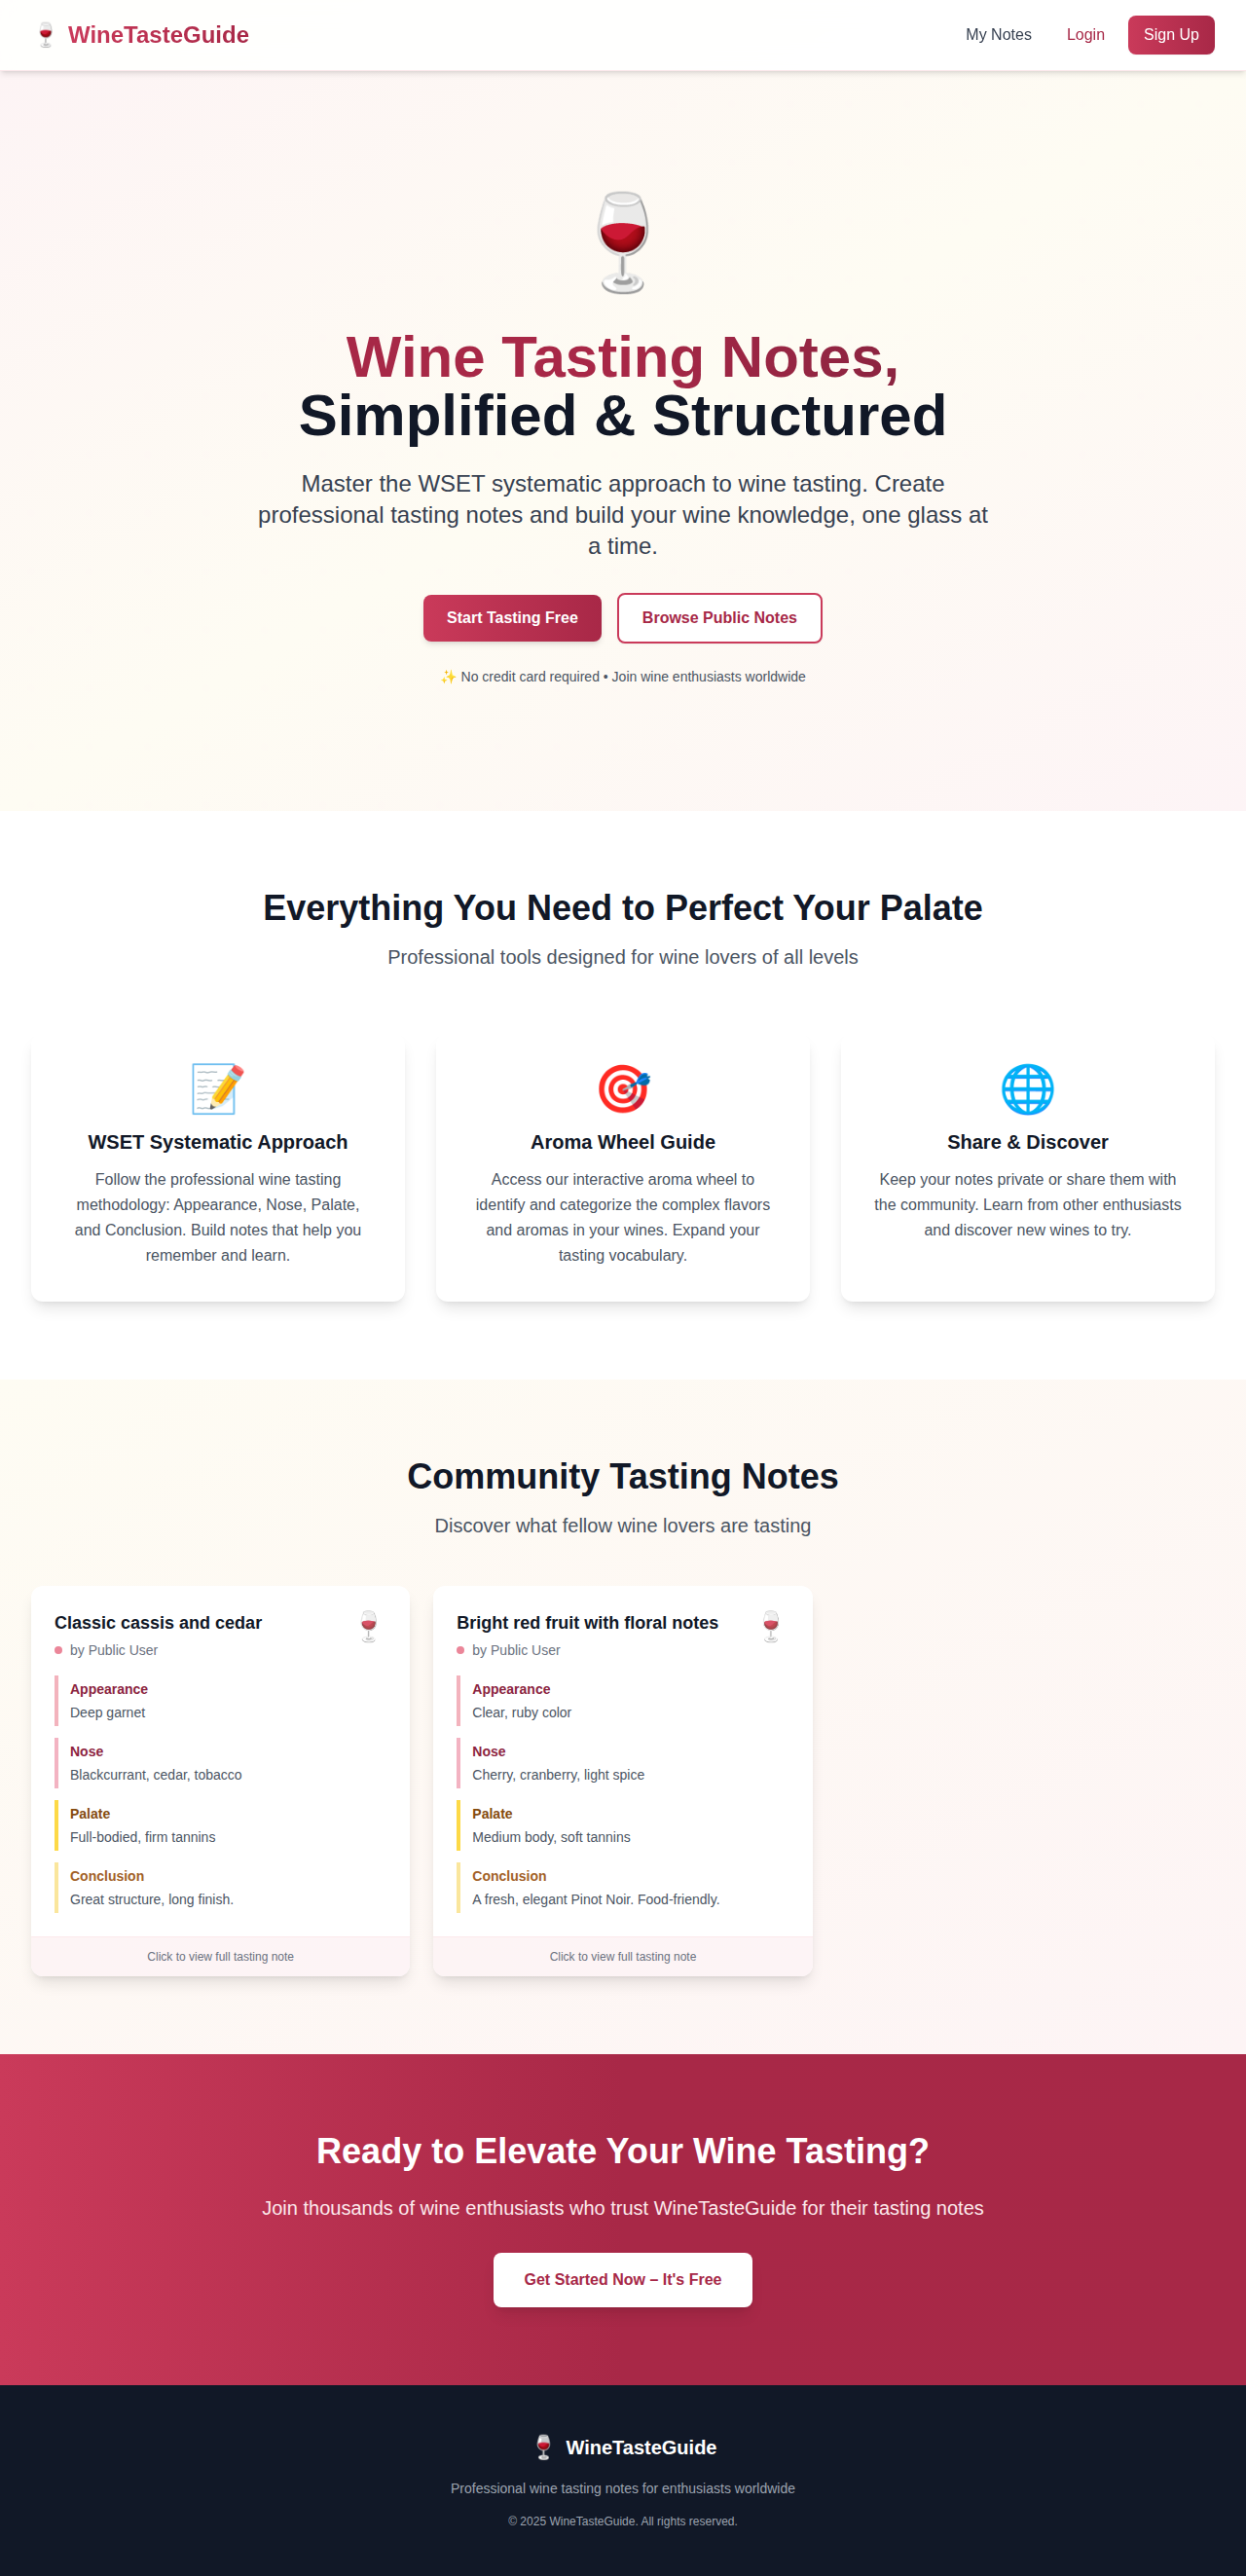
Key Features Highlighted:
- WSET Systematic Approach: Follow the professional wine tasting methodology
- Aroma Wheel Guide: Interactive tool to identify aromas and flavors
- Share & Discover: Keep notes private or share with the community
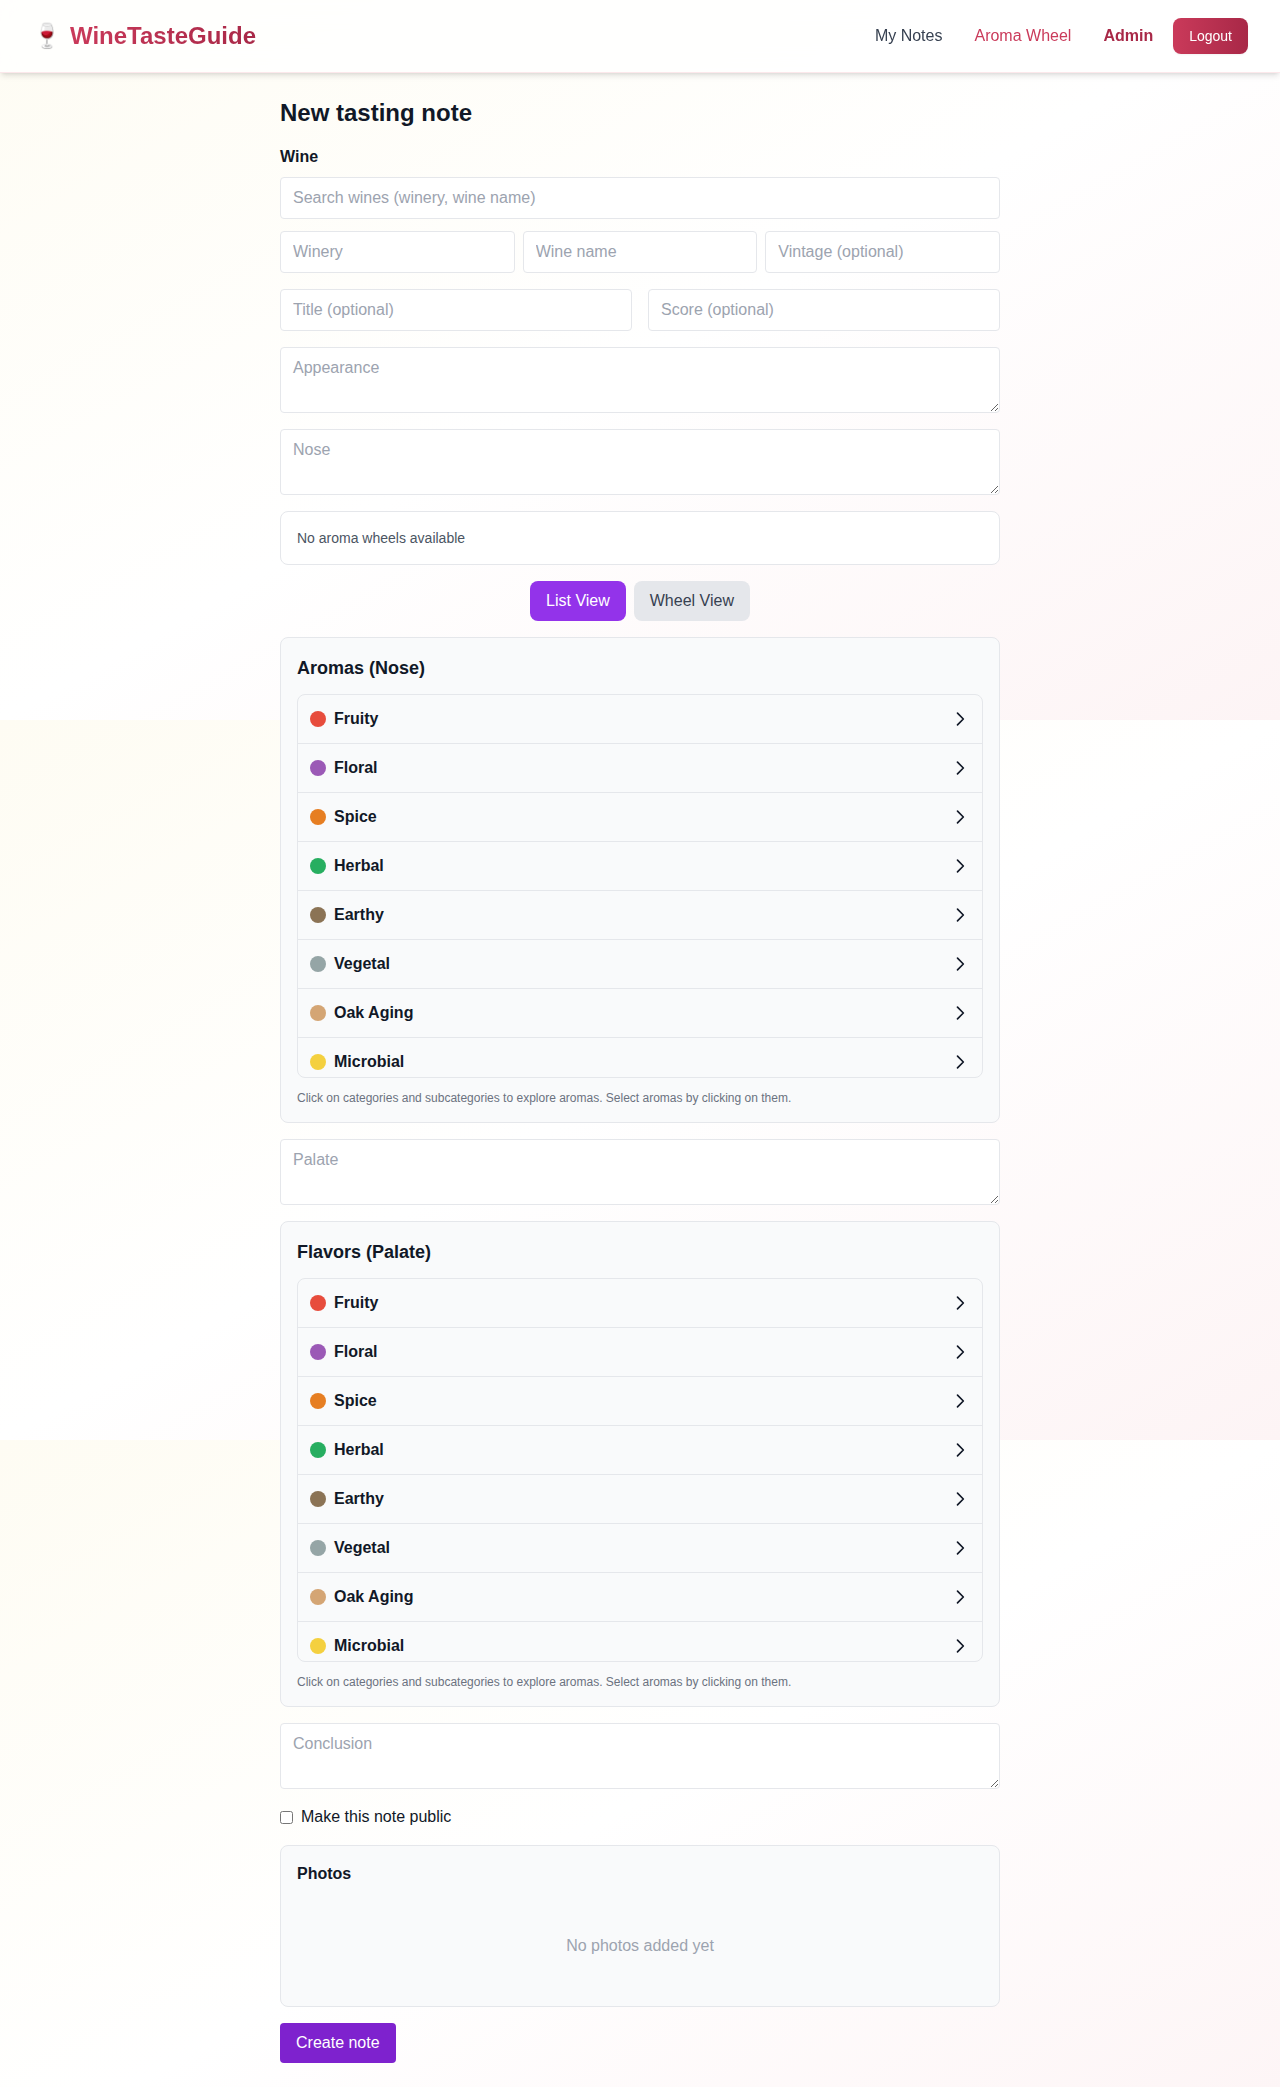
2. Creating Tasting Notes
WineTasteGuide follows the WSET (Wine & Spirit Education Trust) Level 2 systematic approach to wine tasting, helping you create structured, professional tasting notes. The form includes both structured SAT (Systematic Approach to Tasting) fields for consistency and free-text fields for additional observations.
Step-by-Step Guide
1. Select or Add a Wine
- Search for an existing wine by typing the winery or wine name
- Select from search results, or
- Add a new wine by filling in Winery, Wine name, and Vintage (optional)
2. Add Optional Details
- Title: Custom title for your note
- Score: Your rating for the wine
3. Select Grape Varieties (Optional)
Identify the grape varieties in the wine you're tasting. This feature includes:
- WSET Level 1 & 2 Varieties: Common grapes like Cabernet Sauvignon, Chardonnay, Pinot Noir, etc.
- WSET Level 3 Varieties: More specialized varieties like Barbera, Carmenère, Albariño
- Custom Varieties: Type any grape name to add it to the catalog for all users
- Start typing to search, or press Enter to add a new variety
- Select multiple grapes for blends
- Selected grapes appear as removable pills - click X to remove them
4. Select Wine Color (Optional)
Choose the wine color and intensity that best matches your observation. This feature helps standardize color naming across all tasting notes.
- Three wine types: Red, White, and Rosé tabs
- Color categories: Each type has distinct color names (Ruby, Garnet, Purple, Tawny for reds; Straw, Yellow, Gold, Amber for whites; Pink, Salmon, Orange for rosés)
- Intensity levels: Each color offers three intensity options - Pale, Medium, and Deep
- 33 total options: Carefully selected to match the Wine Folly color chart
- Visual swatches: Large color squares help you identify the right match
- Click on any color swatch to select it
- Your selection appears at the top with a "Clear" button to remove it
- Colors are stored in "Intensity + Color" format (e.g., "Deep Ruby", "Pale Straw")
💡 Tip: The wine color picker is based on the Wine Folly color chart, a professional standard for wine color classification. Use it to develop your eye for subtle color variations.
5. WSET Systematic Approach to Tasting (SAT)
WineTasteGuide now includes structured fields following the WSET Level 2 SAT framework, helping you create professional, consistent tasting notes.
Appearance
- Clarity: Clear or Hazy
- Intensity: Pale, Medium, or Deep
- Color: Options vary by wine type (Lemon/Gold/Amber for whites, Purple/Ruby/Garnet for reds, Pink/Salmon/Orange for rosés)
Nose
- Condition: Clean or Faulty
- Intensity: Light, Medium, or Pronounced
- Aroma Characteristics: Select Primary (fruit, floral, herbal), Secondary (oak, lees, MLF), or Tertiary (dried fruit, mushroom, leather) aromas
Palate
- Sweetness: Dry, Off-Dry, Medium, or Sweet
- Acidity: Low, Medium, or High
- Tannin: Low, Medium, or High (primarily for red wines)
- Alcohol: Low, Medium, or High
- Body: Light, Medium, or Full
- Flavor Intensity: Light, Medium, or Pronounced
- Finish: Short, Medium, or Long
Conclusion
- Quality Level: Poor, Acceptable, Good, Very Good, or Outstanding
- Readiness for Drinking: Too young, Can drink now but has potential, Can drink now not suitable for aging, or Too old
💡 Tip: All SAT fields are optional. Use them to follow the WSET framework, or skip them and use the free-text "Additional Notes" fields below for a more casual approach.
6. Additional Notes (Optional)
In addition to the structured SAT fields, you can add free-text notes for:
- Appearance notes: Additional visual observations
- Nose notes: Detailed aroma descriptions
- Palate notes: Taste observations and impressions
- Conclusion notes: Final thoughts and recommendations
7. Nose (Aromas)
- Use the Aroma Wheel selector to tag specific aromas (see Section 3)
- Choose between List View or Wheel View for selecting aromas
8. Palate (Flavors)
- Use the Flavor Wheel selector to tag specific flavors
- Choose between List View or Wheel View for selecting flavors
9. Privacy Settings
Check "Make this note public" to share with the community, or leave unchecked to keep it private
10. Create the Note
Click "Create note" to save your tasting note
💡 Tip: You can add photos to your note after creating it. See Section 4 for details.
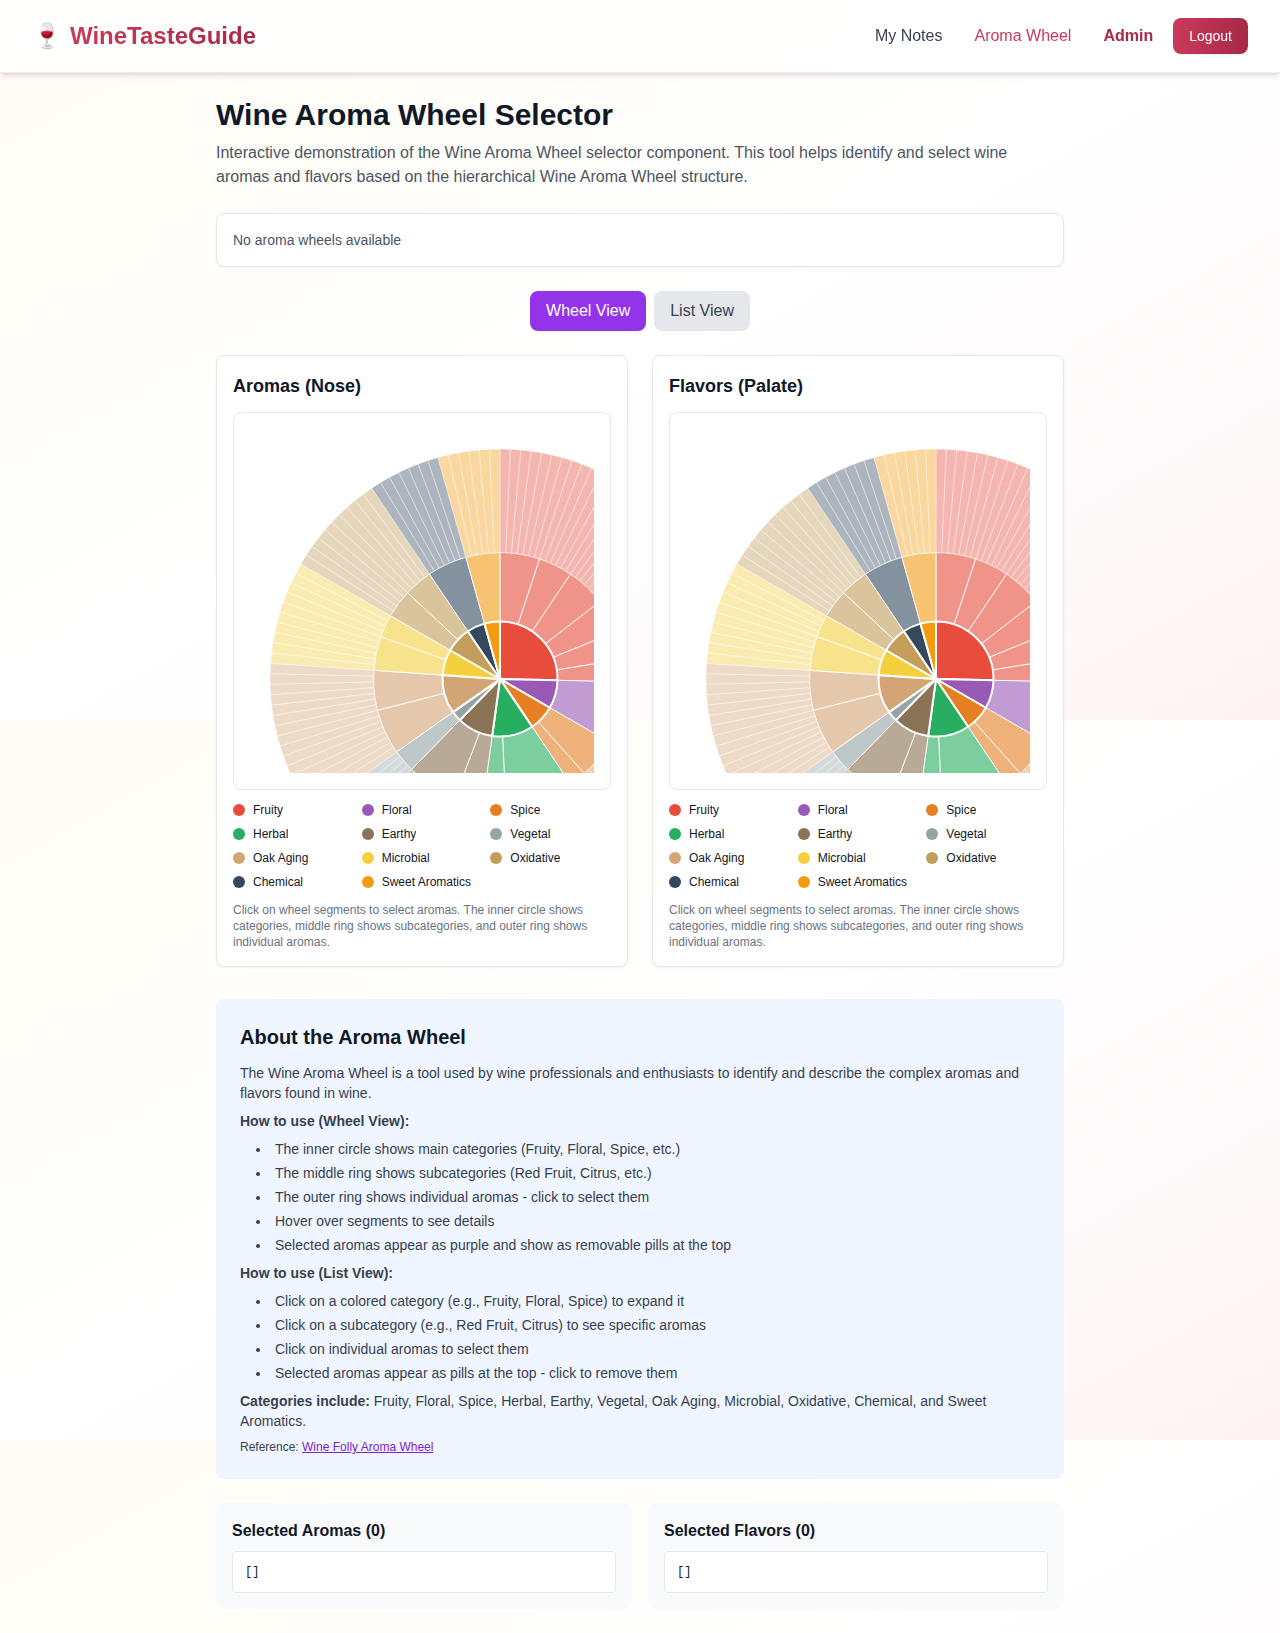
3. Using the Aroma Wheel
The interactive Aroma Wheel helps you identify and categorize the complex aromas and flavors in your wines. It's based on the Wine Folly Aroma Wheel and provides a structured vocabulary for wine tasting.
Wheel View
The circular visualization shows the hierarchical structure of wine aromas:
- Inner circle: Main categories (Fruity, Floral, Spice, etc.)
- Middle ring: Subcategories (Red Fruit, Citrus, etc.)
- Outer ring: Individual aromas - click to select them
- Hover: Over segments to see detailed tooltips
- Selected aromas: Appear in purple and show as removable pills at the top
List View
An alternative hierarchical list interface:
- Click on a category (e.g., Fruity, Floral) to expand it
- Click on a subcategory (e.g., Red Fruit, Citrus) to see specific aromas
- Click on individual aromas to select them
- Selected aromas appear as pills at the top - click X to remove them
Aroma Categories
4. Uploading Photos
Enhance your tasting notes by adding photos of the wine, bottle, label, or tasting setup. Photos are automatically optimized for web display.
How to Add Photos
- Create your tasting note first
Photos can only be added after the note is created
- Navigate to the note edit page
From "My Notes", click "Edit" on the note you want to add photos to
- Scroll to the "Photos" section
You'll find it near the bottom of the form
- Click "Add Photos"
Select one or more image files from your device
- Upload complete!
Photos are automatically uploaded, processed, and displayed
Supported File Types
- JPG/JPEG
- PNG
- WebP
- HEIC (Apple's format)
File Specifications
- Maximum file size: 25MB per photo
- Automatic resize to 1920x1920px max
- Converted to WebP format
- 80% quality optimization
Managing Photos
- Photos are displayed in a grid (2 columns on mobile, 3 on desktop)
- Hover over a photo and click the red X button to remove it
- You can upload multiple photos at once
- Photos appear in note previews and public note displays
5. Managing Your Notes
All your tasting notes are accessible from the "My Notes" page. You can view, edit, delete, and manage the privacy of your notes.
Editing Notes
- Go to "My Notes" from the navigation bar
- Find the note you want to edit
- Click "Edit" button on the note card
- Make your changes
- Click "Save changes" to update
Deleting Notes
- Go to "My Notes"
- Find the note you want to delete
- Click "Delete" button
- Confirm the deletion
- The note is permanently removed
Public vs Private Notes
By default, all notes are private and only visible to you. To share a note with the community:
- Edit the note
- Check the "Make this note public" checkbox
- Save changes
Public notes appear on the homepage and in the public notes browse page.
6. Import & Export Notes
Exporting Your Notes
Export all your tasting notes to backup your data, migrate to another system, or analyze your notes in spreadsheet software.
💡 Tip: Export your notes regularly as a backup. Both CSV and JSON formats are supported.
Export Formats
- JSON Format: Preserves all data with schema metadata for version compatibility. Best for re-importing into WineTasteGuide.
- CSV Format: Compatible with Excel, Google Sheets, and other spreadsheet software. Great for analysis and sharing.
How to Export
- Navigate to your "My Tasting Notes" page
- Click the Export JSON or Export CSV button at the top
- Your browser will download a file named
tasting-notes-YYYY-MM-DD.[json|csv]
Importing Notes
Import tasting notes from CSV or JSON files. This is useful for:
- Migrating notes from another wine tracking system
- Restoring from a backup
- Bulk adding notes created offline
- Sharing notes with other users
Required Fields
Your import file must include these required fields:
winery- Name of the winerywineName- Name of the wine
Optional Fields
You can also include any of these optional fields:
vintagetitleappearancenosepalateconclusionscorearomasflavorsgrapeswineColorisPublicHow to Import
- Prepare your CSV or JSON file with the required fields
- Navigate to your "My Tasting Notes" page
- Click the Import button at the top
- In the import modal, click "Choose File" and select your file
- Click "Import" to start the process
- Review the results showing successful imports, warnings, and errors
⚠️ Note: Arrays (aromas, flavors, grapes) should be semicolon-separated in CSV files, e.g., cherry; vanilla; oak
Import Validation
The import process validates your data and provides feedback:
- Errors: Rows with missing required fields or invalid data will be skipped
- Warnings: Non-critical issues like creating new wine entries
- Success: Count of successfully imported notes
Example CSV Format
winery,wineName,vintage,title,score,aromas,isPublic
Château Margaux,Grand Vin,2015,Exceptional Bordeaux,95,"cherry; vanilla; oak",false
Robert Mondavi,Cabernet Sauvignon,2018,,88,"blackberry; cedar",true
Future Compatibility
JSON exports include schema version metadata to ensure compatibility as WineTasteGuide evolves. If new fields are added in future updates, your exported files will remain importable.
✅ Future-Proof: The import/export system is designed to handle schema changes gracefully, ensuring your data remains accessible even as new features are added.
7. Browsing Public Notes
Discover what other wine enthusiasts are tasting by browsing public notes. Learn from the community and find inspiration for your own wine journey.
How to Browse Public Notes
- From the Homepage: Scroll down to the "Community Tasting Notes" section to see a preview of recent public notes
- From My Notes: Click "Browse Public Notes" or "My Notes" in the navigation (public notes are shown when not logged in)
- View Full Note: Click "Click to view full tasting note" on any note card to see complete details
What You Can See in Public Notes
- Wine details (winery, name, vintage)
- Complete tasting notes (appearance, nose, palate, conclusion)
- Selected aromas and flavors
- Photos (if added by the author)
- Score and rating (if provided)
- Author's name
8. Account Security
WineTasteGuide offers multiple security features to protect your account, including Two-Factor Authentication (2FA) and Passkeys. All security features are optional and can be configured from the Security Settings page.
Accessing Security Settings
Once logged in, click "Security" in the navigation bar to access your security settings.
💡 Tip: We recommend enabling at least one additional security method (either 2FA or Passkeys) for better account protection.
Two-Factor Authentication (2FA)
2FA adds an extra layer of security by requiring a time-based code from your authenticator app in addition to your password when signing in.
Setting Up 2FA:
- Navigate to Security Settings
- Click "Enable 2FA" in the Two-Factor Authentication section
- Scan the QR code with your authenticator app (Google Authenticator, Authy, Microsoft Authenticator, etc.)
- Enter the 6-digit code from your app to verify setup
- Important: Save your backup codes in a secure location
⚠️ Backup Codes: When you enable 2FA, you'll receive 8 backup codes. Each code can be used once if you lose access to your authenticator app. Store them in a safe place like a password manager.
Using 2FA to Sign In:
- Enter your email and password as usual
- When prompted, open your authenticator app
- Enter the current 6-digit code
- If you've lost your authenticator, use one of your backup codes instead
Passkeys (Passwordless Login)
Passkeys provide a modern, passwordless way to sign in using biometric authentication (Face ID, Touch ID, Windows Hello) or hardware security keys. Passkeys are more secure than passwords and protected against phishing attacks.
Registering a Passkey:
- Navigate to Security Settings
- Click "Register Passkey" in the Passkeys section
- Give your passkey a descriptive name (e.g., "iPhone Face ID", "YubiKey")
- Click "Continue with Device"
- Follow your device's authentication prompt:
- iPhone/iPad: Use Face ID or Touch ID
- Mac: Use Touch ID or system password
- Windows: Use Windows Hello or PIN
- Android: Use fingerprint or device PIN
- Security Key: Insert and activate your key
💡 Tip: Register multiple passkeys as backups (e.g., one for your phone, one for your laptop, and a security key for emergencies).
Signing In with a Passkey:
- On the login page, click "Sign in with Passkey"
- Optionally enter your email to use only your registered passkeys
- Follow your device's authentication prompt
- You'll be signed in immediately (no password or 2FA required)
✅ Browser Support: Passkeys work in Safari 16+, Chrome 108+, Edge 108+, and Firefox 119+. Make sure you're using an up-to-date browser.
Managing Your Security Settings
From Security Settings, you can:
- Disable 2FA: Requires password confirmation
- Regenerate Backup Codes: Creates 8 new codes (invalidates old ones)
- Add Multiple Passkeys: Register different devices or security keys
- Delete Passkeys: Remove unused or compromised passkeys
- Rename Passkeys: Update device names for better organization
Security Best Practices
- Use a strong, unique password for your account (12+ characters with mixed case, numbers, and symbols)
- Enable 2FA if you access WineTasteGuide from multiple devices or public networks
- Register at least 2-3 passkeys as backups in case you lose access to one device
- Store your 2FA backup codes in a secure password manager
- Review your registered passkeys periodically and remove unused devices
- Never share your password, 2FA codes, or backup codes with anyone
- If you suspect your account has been compromised, change your password immediately and review your security settings
📖 For More Details: See the complete Security Documentation for technical details and API reference.
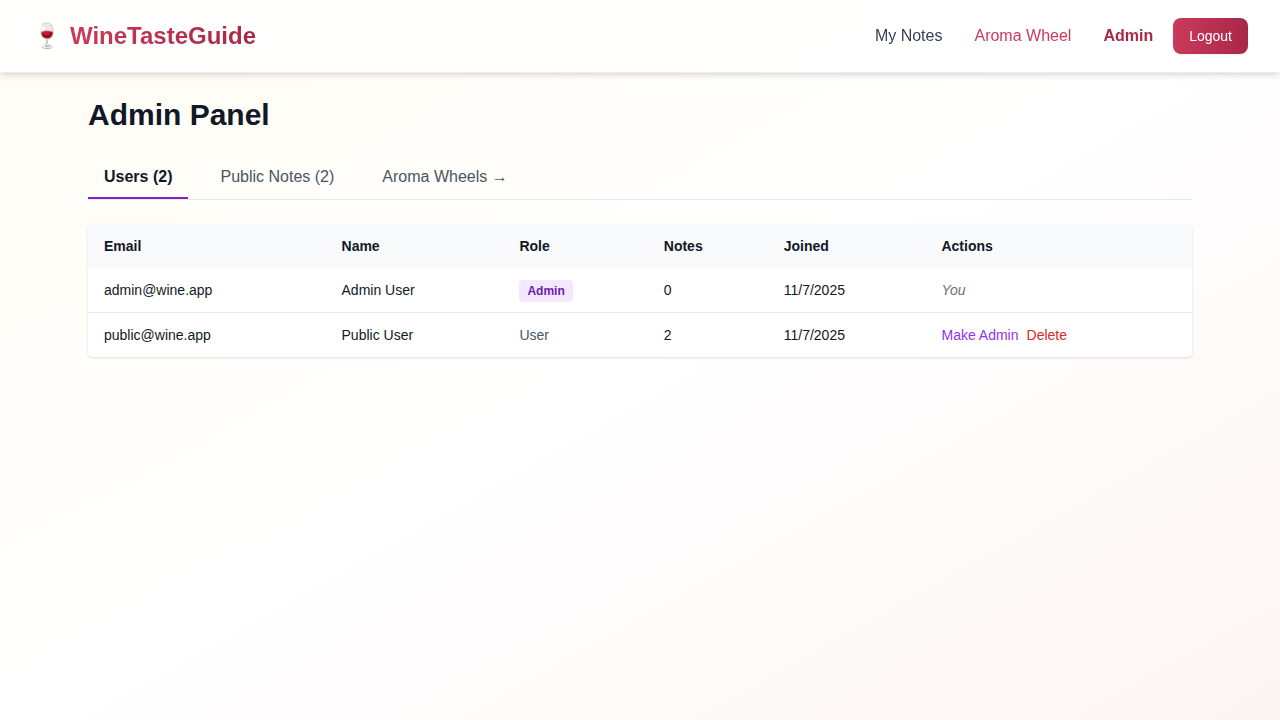
9. Admin Features
Administrator accounts have additional capabilities for managing users and content.
Admin Capabilities
User Management
- View all registered users
- See user statistics (note counts, join date)
- Promote users to admin role
- Delete user accounts (and all their notes)
Content Moderation
- View all public tasting notes
- Delete inappropriate public notes
- Manage community content quality
Aroma Wheel Management
- Create custom aroma wheels for different WSET levels
- Edit existing aroma wheel data
- Activate/deactivate wheels
- Set default wheels for each level
Accessing the Admin Panel
If you have admin privileges, you'll see an "Admin" link in the navigation bar. Click it to access the admin panel. Admin accounts are created manually by the system administrator.
Additional Resources
WSET Resources
Aroma Wheel References
Need Help?
If you have questions or encounter issues, please check this documentation first.
For developer documentation and technical references, see the Developer Docs